Do you have a rug that is soiled and sad? I will show you how to dye an old rug to give it a beautiful new life!
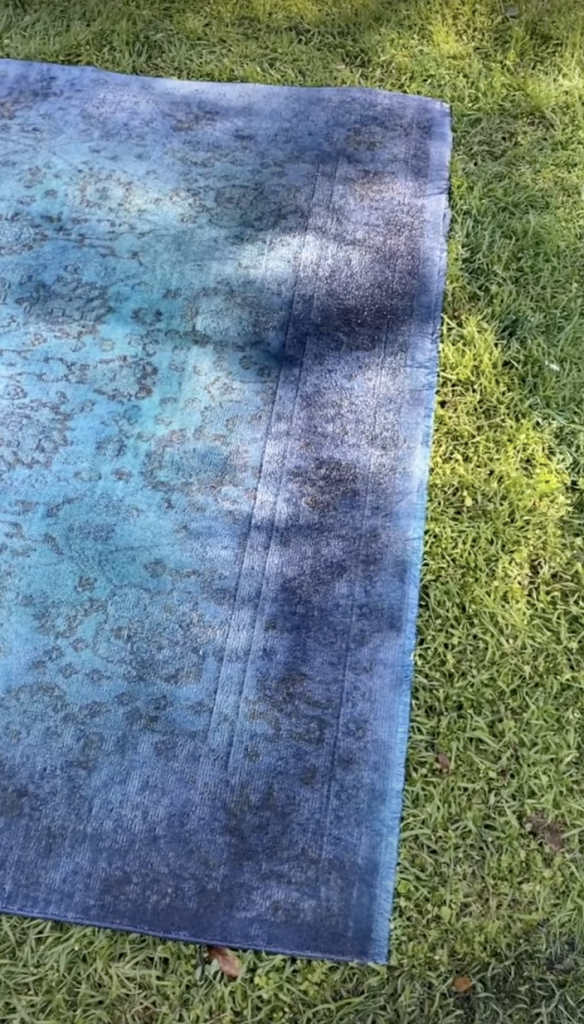
A couple of years ago, I bought a really nice rug from Magnolia Home. I was so proud of it because it was a great quality and looked really nice in our home. I had finally invested the money to get a nice rug that would last years in our home… or so I thought!
About a month into having the rug, I spilled an ENTIRE mug of hot chocolate on it and stained it. It was irreparable. Stain remover, carpet cleaner, you name it, the stain wasn’t coming out. I turned the rug to hide the stain under our couch, but even small spills of water were causing the dye in the rug to run! In the end, I ended up having to purchase a new rug and rolled the soiled rug up to put under the guest room bed.
A few months after stashing the rug away to never be seen again, I came up with a plan. I would try dying the rug! I mean, what did I have to loose? It was already ruined, so why not try it out? The results were amazing! I now have a BEAUTIFUL rug in my craft room/ office and love looking at it on a daily basis. How did I do this you ask? Here is an easy how to guide to dye an old rug to give it new life!
This post contains affiliate links that I earn a small commission from at no cost to you. Please read my disclaimer notice here.
What types of rugs can I dye?
My rug is made from 100% Viscon which is a semi-synthetic fabric. Viscon is made from wood pulp and is made to mimic a silk type texture. This rug dyed beautifully and leads me to believe that other synthetic materials would work well as well. Natural fibers will work beautifully such as cotton or wool.
What materials do I need to dye an old rug?
An old rug (obviously)
Liquid Dye (I used Rit)
Spray bottles
A sponge
Rubber Gloves
A water hose
A vacuum
How do I dye an old rug?
For starters, give your rug a good vacuum and spot clean any leftover grime that might keep the dye from absorbing easily. This would be things like sticky spots and dried on food.
Mix your Dye
I purchased three colors of Rit dye for my rug. For this project, I chose a navy, royal blue, and a deep green. I mixed my dye with water in three individual spray bottles, one for navy, one for blue, and one for green. I used about a 2/1 ratio with 1 being dye and 2 being water. Close up your spray bottle and shake well to combine.
Dye your Rug
I went for an ombre effect with my rug so I sprayed my dye in layers. I started with Navy on the outer edges then went over the navy with royal and brought the royal inside of the line of navy. After that, I sprayed the green dye over everything and in to the center of the rug. I let this soak in really well for a couple of hours outside in the sunshine.
Rinse your Rug
Using your garden hose, rinse the residual dye out of your rug. Be sure not to use a strong stream of water as it can cause variation in the amount of dye that soaks in to the fibers. I tried to rinse the rug until the water coming out of the rug was a little more clear.
Dry your Rug
Leave your rug outside to dry overnight. I laid mine over our metal patio set (because it won’t dye) to allow the air to get all around it. I also left it outside in the sun the following day to get it good and dry.
Vacuum your Rug
Once the rug is fully dry, bring it inside and give it a good vacuum. I went over mine multiple times to make sure that the fibers were all laying down nicely since I rinsed it with a garden hose.
Repeat steps 3-6 one more time!
Get a Rug Pad!
Because your rug has now been dyed, be sure to lay it out on a rug pad to give it a barrier between the rug and your floor. The dye could potentially bleed through if you have a spill and I would hate to have you accidentally dye your nice floors! I have not had an issue with mine bleeding, but keep the rug pad underneath just in case.
Want to print the instructions?
How to dye an old rug! - Give an old rug new life
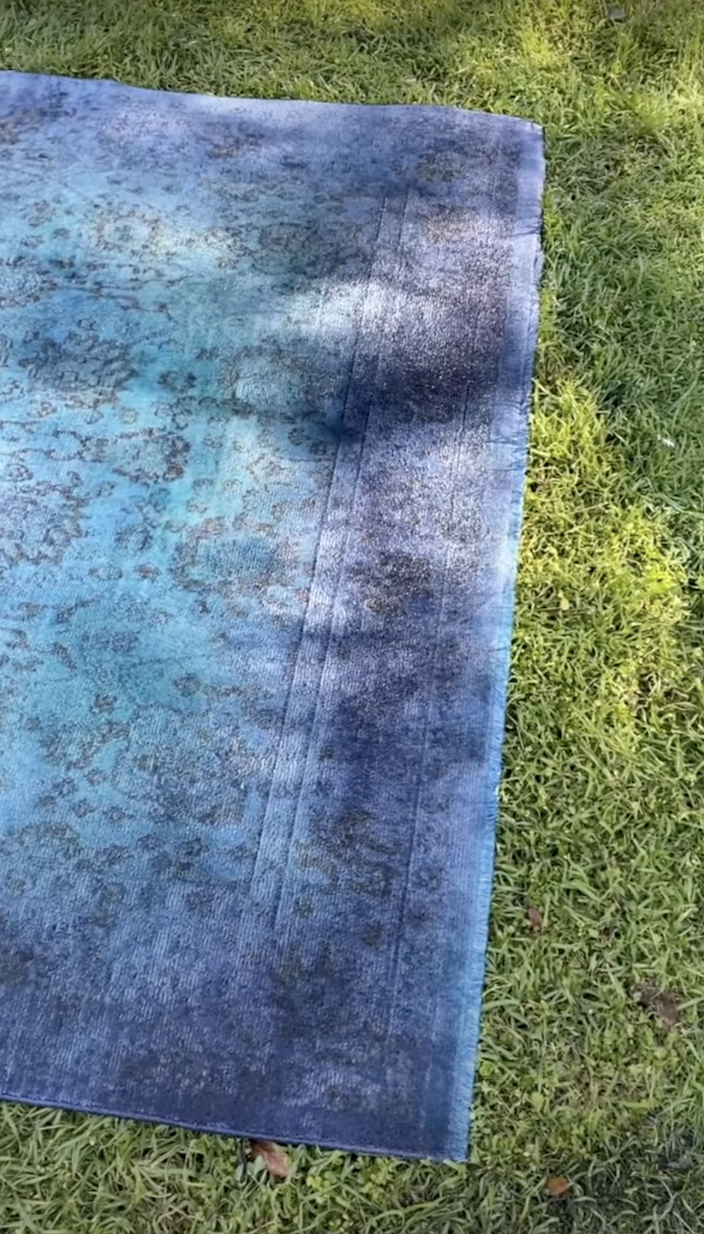
Using this easy technique, you will be able to take your stained rug from drab to fab! All you'll need is three colors of liquid dye such as Rit, three spray bottles, rubber gloves, water, a hose, and a vacuum!
Materials
- Rug
- Liquid Dye (such as Rit)
- Spray bottles
- Water Hose
- Vacuum
- Rubber Gloves
- Sponge
Instructions
1. For starters, give your rug a good vacuum and spot clean any leftover grime that might keep the dye from absorbing easily. This would be things like sticky spots and dried on food.
2. Mix your dye - I purchased three colors of Rit dye for my rug. I chose a navy, royal blue, and a deep green. I mixed my dye with water in three individual spray bottles, one for navy, one for blue, and one for green. I used about a 2/1 ratio with 1 being dye and 2 being water. Close up your spray bottle and shake well to combine.
3. Dye your rug - I went for an ombre effect with my rug so I sprayed my dye in layers. I started with Navy on the outer edges then went over the navy with royal and brought the royal inside of the line of navy. After that, I sprayed the green dye over everything and in to the center of the rug. I let this soak in really well for a couple of hours outside in the sunshine.
4. Rinse your rug - using your garden hose, rinse the residual dye out of your rug. Be sure not to use a strong stream of water as it can cause variation in the amount of dye that soaks in to the fibers. I tried to rinse the rug until the water coming out of the rug was a little more clear.
5. Dry your rug - leave your rug outside to dry overnight. I laid mine over our metal patio set (because it won't dye) to allow the air to get all around it. I also left it outside in the sun the following day to get it good and dry.
6. Vacuum your rug - Once the rug is fully dry, bring it inside and give it a good vacuum. I went over mine multiple times to make sure that the fibers were all laying down nicely since I rinsed it with a garden hose.
7. Repeat steps 3-6 one more time!
8. Get a rug pad! - Since your rug has now been dyed, be sure to lay it out on a rug pad to give it a barrier between the rug and your floor. The dye could potentially bleed through if you have a spill and I would hate to have you accidentally dye your nice floors! I have not had an issue with mine bleeding, but keep the rug pad underneath just in case.
How is my dyed rug doing two years later?
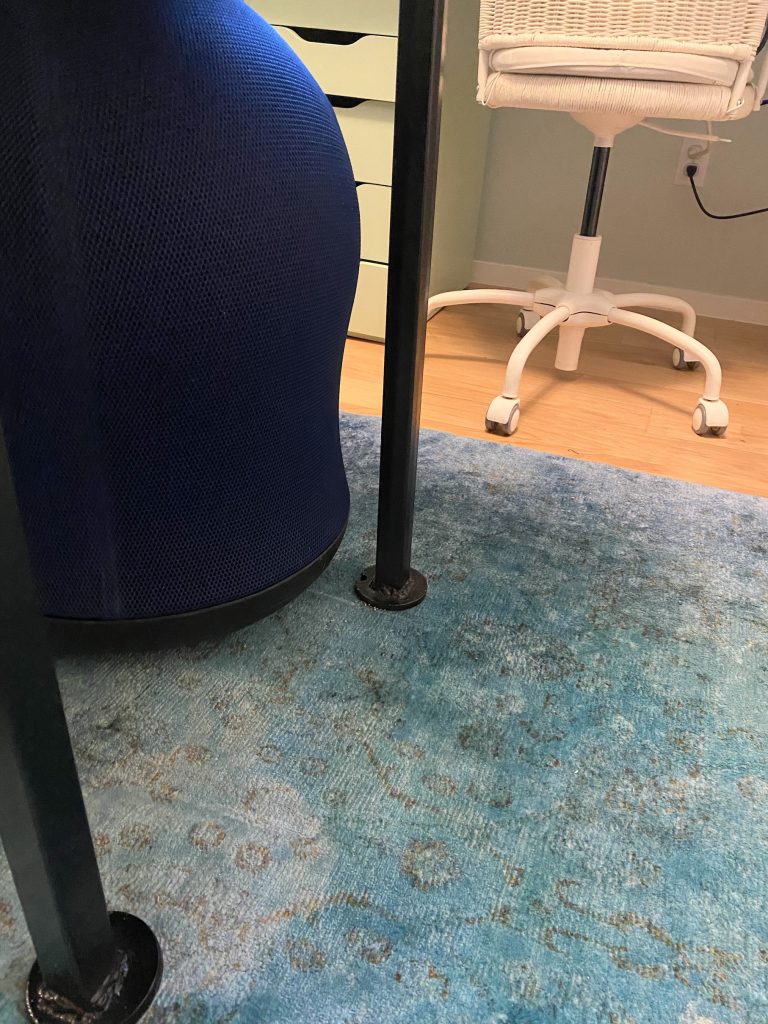
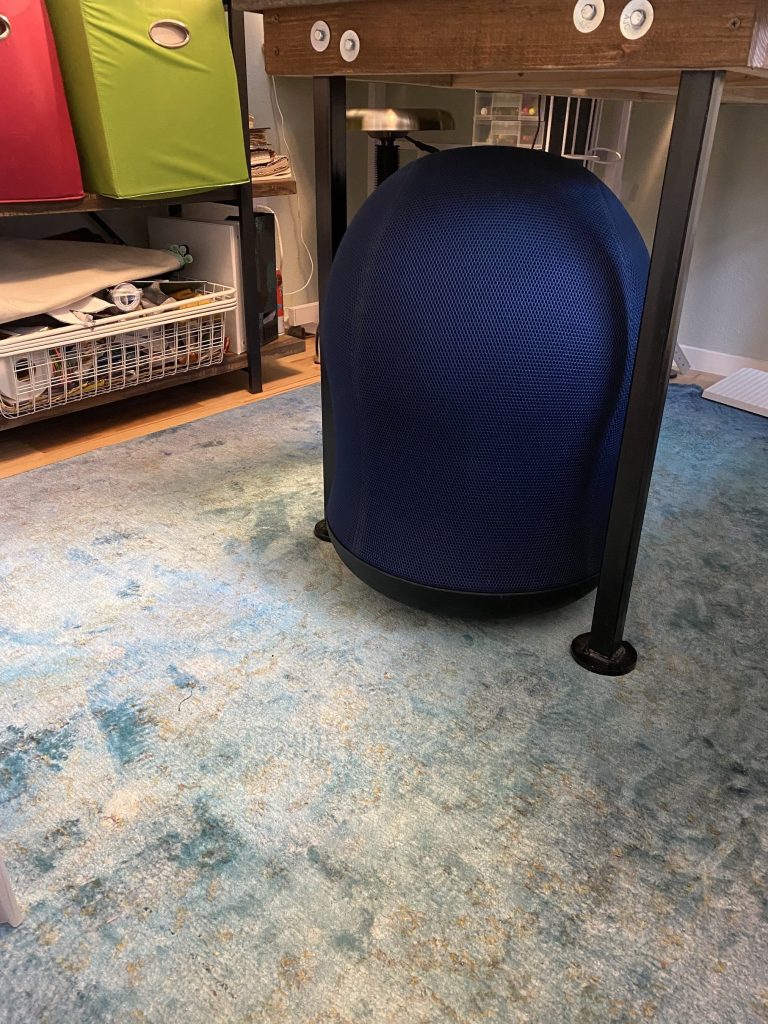
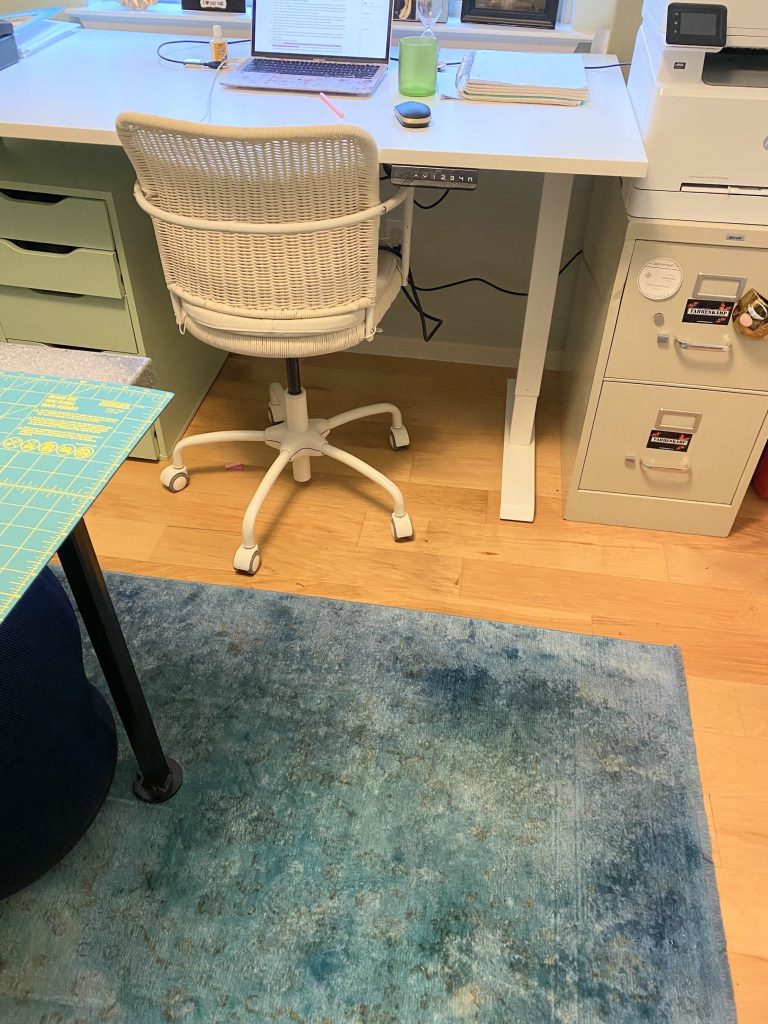
My dyed rug is living it’s best life as the anchor point for everything in my office and craft room! I have a peninsula type setup in my office for my embroidery machine and my rug is placed centrally underneath! The turquoise color brings a great pop of color to my office and really brightens up the space. I love working in here on a daily basis because the rug creates such a cheery mood.
As far as my bleeding concerns go, I have had no issue with the dye transferring onto our blonde wood floors. While I say that, I strongly suggest that you use a rug pad underneath any rug that you decide to dye just in case. I still have our cheap rug pad that I got at Big Lots underneath and it is doing just fine!
Visual Learner? Check out my YouTube video!
Shop this post!
Looking for more creative content?
Check out some of my other posts here!
Chocolate Covered Strawberry Fudge – An easy recipe for Valentine’s Day!
The best 10 minute meals you can cook on a weekday
How to make homemade all purpose cleaner

Great idea to reuse old things and save them from the junkyard!
Wow, I’ve never heard of anyone dyeing a rug before. Such a great idea!!
I would have never thought to dye an old rug! With your tutorial, I know how to do it. Now, I just need to find that old rug …